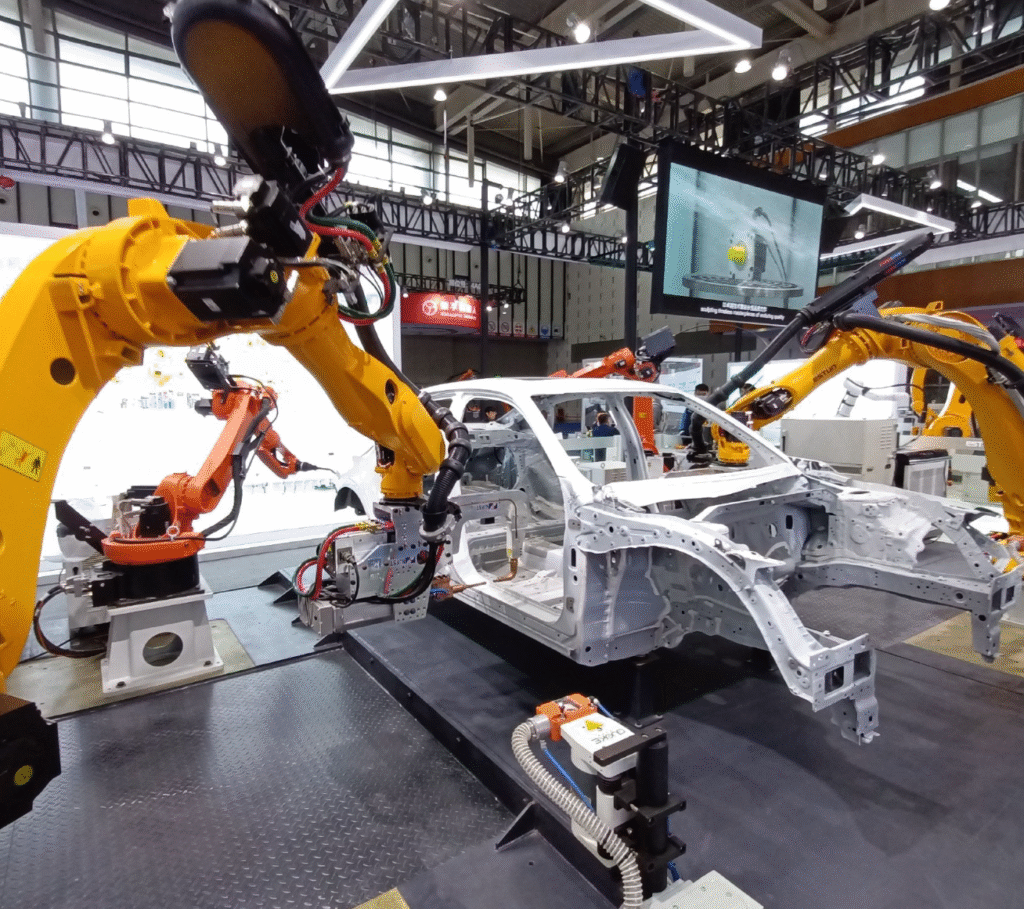
A fixture inspection is a final test that checks whether locators, clamps, access and release controls return a welded joint to position.
Recommended action: repeat the full cycle and release the fixture only when the same joint returns.
Fixtures Inspection Rule: Prove the Joint Returns After Release
Locators establish position; clamps maintain contact. Clamp force hides poor seating because it drags a part onto the wrong surface. The stored force causes joint movement during welding or release.
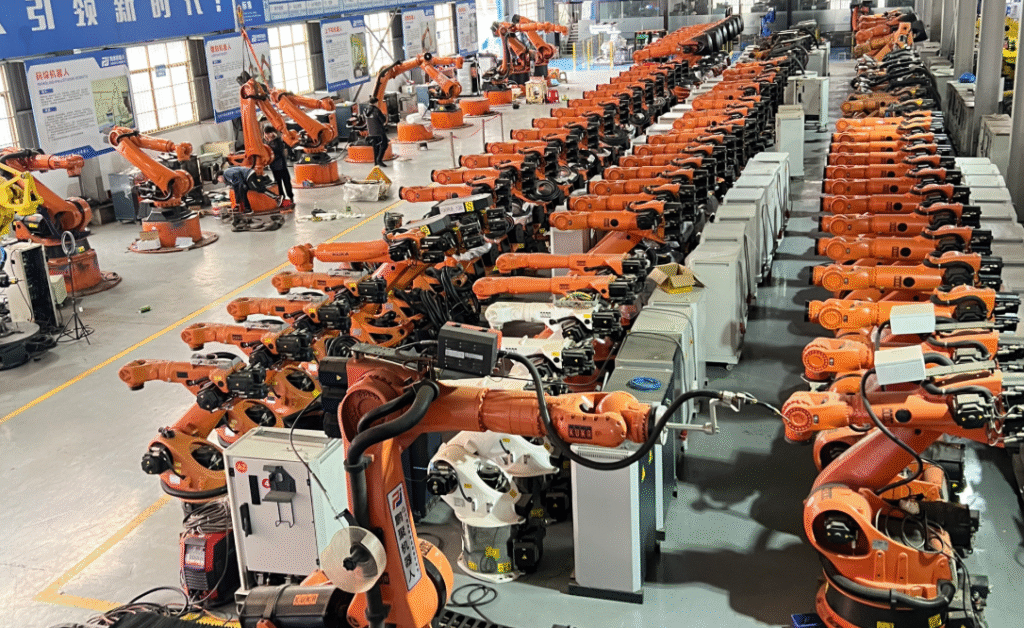
A pass needs:
- The part contacts the intended datum surfaces before clamping.
- A wrong variant cannot appear correctly seated.
- The clamp direction supports the datum scheme instead of replacing it.
- The torch, cable package and nozzle clear the fixture throughout the programmed path.
- Inspection features stay accessible after welding.
- The weldment releases without binding or a sudden dimensional shift.
- Shims and change parts carry controlled identification.
HORISTAR tested all 3 variants in 3–5 mm (0.12–0.20 inches) carbon steel before releasing the fixture.
Standards for Fixtures, Robot Safety and Datum Evidence
No standard supplies a universal fixture tolerance. Use the released drawing for product acceptance.
ISO 12100 defines risk assessment. ISO 9283 defines robot-test criteria.
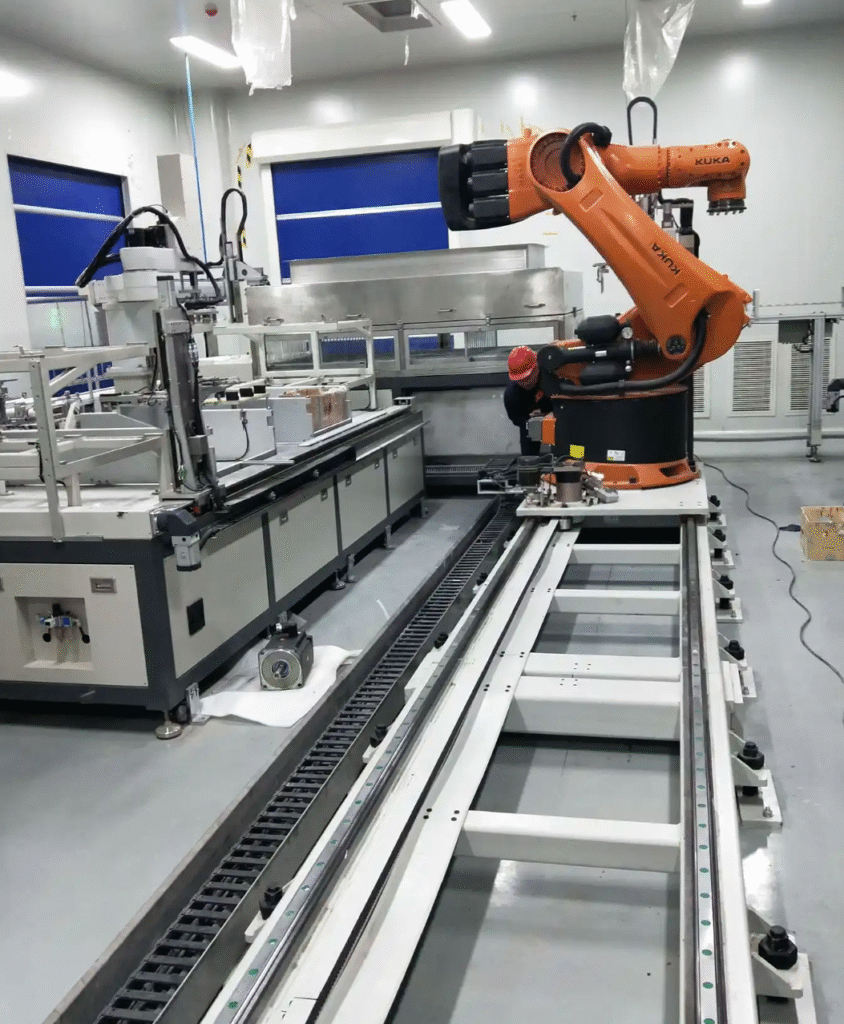
Keep these three scopes separate:
- ISO 10218-2: industrial robot applications and cells.
- ISO 12100: machinery risk assessment and reduction.
- ISO 9283: industrial-robot performance tests.
These standards do not replace the datum plan, welding procedure or customer tolerance.
Inspection Sequence for Welding Fixtures
Run the test in the same order as production.
Record the input
Identify revision, material, thickness and forming variation.
Prove free-state seating
Load representative parts with every clamp open.
Apply the clamp sequence
Watch for edges lifting from a datum.
Measure the joint
Record gap, offset and seam position with the agreed method.
Prove process access
Run the production torch, sensor and cable package through the full path.
Weld, release and reload
Repeat the complete cycle with another representative part.
Fixtures Selection Thresholds: When to Choose Each Inspection Level
This comparison matrix matches inspection evidence to correction risk.
| Inspection level | Application fit | Evidence to request | Main limitation |
|---|---|---|---|
| Functional check | Low-risk manual tooling | Locator map, clamp function and access | Does not prove repeatability |
| Dimensional buyoff | Released assembly datums | Datum report, method and drawing | Misses process-path problems |
| Process run-off | Automated welding cell | Actual hardware, parts and sequence | Needs representative inputs |
| Evidence package | Multi-variant or remote delivery | Run-off, changeover and wear records | Scope must be agreed early |
Framework source: HORISTAR application-team review, bounded by the ISO scopes cited above.
The basic level is unsuitable for automated welding because it omits the process cycle. Include total cost of ownership when comparing scope.
Use the Release Test to Expose Stored Force
Watch the part when the clamps open.
A jump, rotation or bind points to false seating, trapped shrinkage or locator interference.
Record the symptom, affected datum, correction and repeat test.
Validate Torch Access With the Real Process Stack
Check the complete volume around the nozzle, sensor, collision mount and cable package.
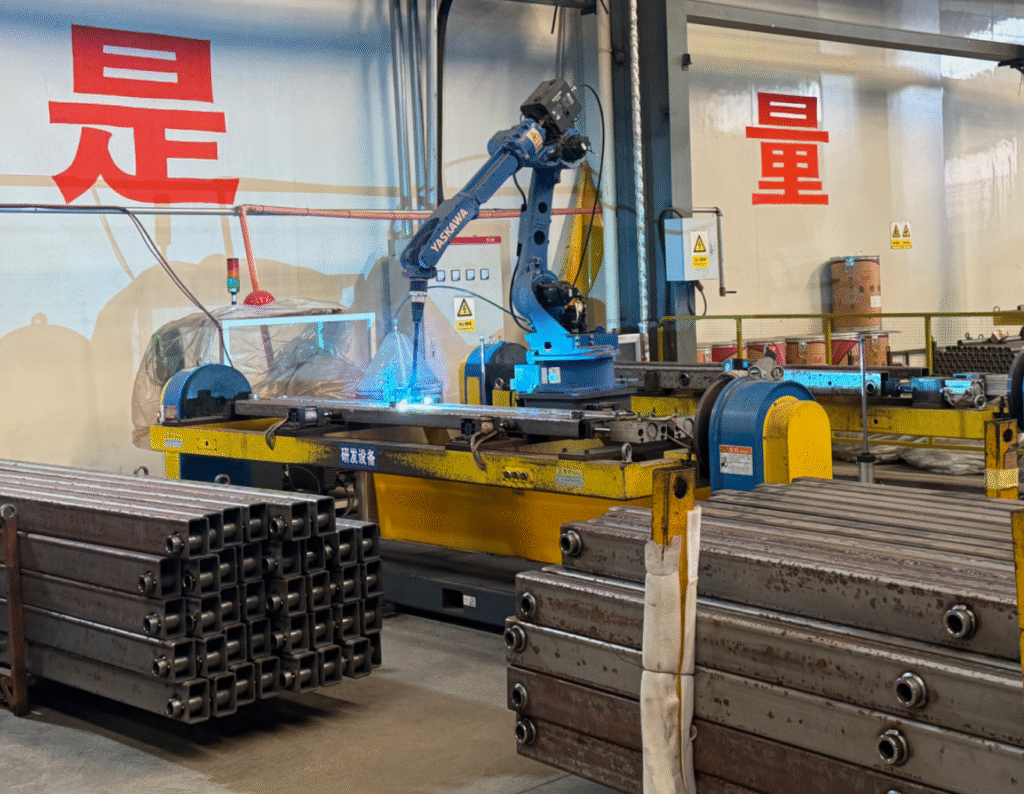
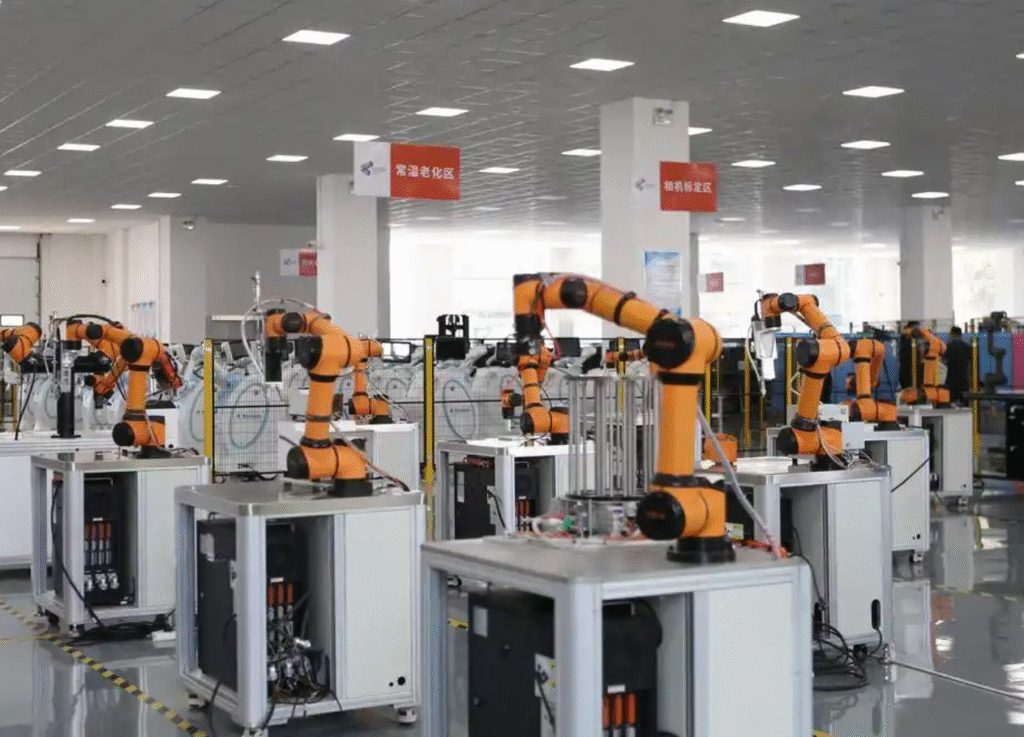
Review three conditions:
- Approach: enter without crossing a clamp or operator zone.
- Welding: hold the required angles along the seam.
- Exit and service: leave safely and reach consumables.
Keep the released clamp sequence active during the test.
Use simulation before build, then confirm the path with production hardware.
HORISTAR Fixtures Case Data and Labor Calculation
The verified Eastern European automotive-bracket project links fixturing, staffing, quality and payback.
| Decision input or result | Verified value | Buyer implication |
|---|---|---|
| Part family | 3 product variants | Include changeover control |
| Material window | 3–5 mm (0.12–0.20 inches) carbon steel | Test representative thicknesses |
| Baseline labor | 240 hours/month; 3 welders | Define the labor bottleneck |
| Programming and fixturing | 3 weeks | Include tooling in the schedule |
| Production result | 380 units/day; 1 operator | Test the complete cell |
| Quality result | 22% rework reduction | Name the quality metric |
| Investment result | 14 months to payback | Evaluate tooling and labor together |
Data source: HORISTAR production case
Calculation: 240 hours/month ÷ 3 welders = 80 hours per welder-month. Replace the case inputs before making a new investment decision; results are project-specific.
Fixture Failure Signatures and First Checks
Connect each symptom to a likely mechanism and repeat test.
| Observed signature | Likely area to investigate | Verification action |
|---|---|---|
| Part rocks before clamping | Burrs, contamination or unstable datums | Clean and reload before changing force |
| Joint moves as a clamp closes | Clamp direction or false seating | Apply clamps individually |
| Weldment binds during unloading | Trapped shrinkage or locator interference | Inspect contact marks and release order |
| Robot needs an awkward path | Fixture or cable conflict | Test the complete process stack |
| Later reloads drift | Wear or uncontrolled change parts | Repeat the loading standard |
When Fixtures Inspection Is Not Enough
Do not substitute this run-off for product or safety validation.
Escalate when:
- The joint is safety-critical.
- Incoming variation is unknown.
- Forming variation exceeds the agreed window.
- Distortion dominates the quality risk.
- Several variants share change parts.
- Post-weld inspection cannot locate the cause.
- Tooling will be duplicated across sites.
Define product, process, fixture and measurement ownership before buyoff.
RFQ Specification Checklist for Welding Fixtures
For an engineering review, send:
- Drawings with datum and weld callouts.
- Files for every intended variant.
- Material, thickness and incoming-part limits.
- Torch, sensor and cable-package details.
- The intended production sequence.
- Acceptance tolerances and inspection method.
- Changeover and wear-part needs.
- Current-process photos or video.
- The named acceptance owner.
Request Engineering Support
Send the drawings and identify the least-repeatable joint or datum.
Frequently Asked Questions
Should clamps pull parts onto locators in welding fixtures?
Is dimensional inspection enough for robotic welding fixtures?
When should torch access be checked on fixtures?
What should be recorded when fixtures need shimming?
What is the most useful first test for welding fixtures?
Related Guides
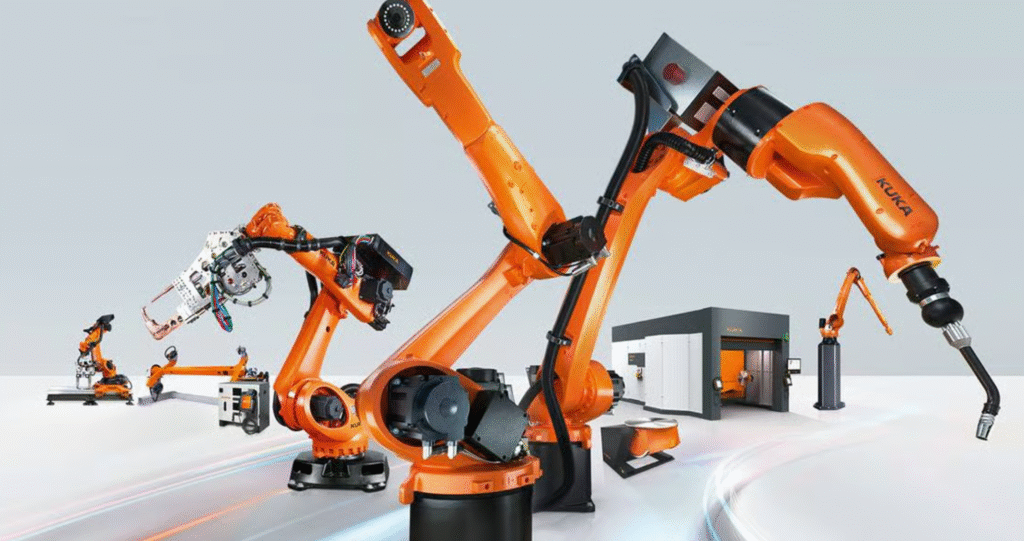
Robot Welding Cell Guide: 6-Axis vs Cobot vs Multi-Axis
Compare arm, process, fixture, positioner and safety before writing an RFQ.
CNC Lathe Accuracy FAT: ISO 230-2 and ISO 13041 Evidence
The same evidence-first mindset applied to CNC lathe pre-shipment acceptance.
Source note: Case values come from the linked HORISTAR record, verified by Doris Li. Results are project-specific.